Mawa peda is the original peda — the one mithai shops have made for generations from nothing but khoya, sugar and cardamom, long before the sensible shortcuts with milk powder and condensed milk existed. The difference is not snobbery; it is texture and taste. Real khoya, crumbled and cooked down slowly, gives a peda that is dense yet tender, with the faint caramel depth of milk that has been reduced for hours and a clean, milky sweetness no powder quite reproduces. It is a short ingredient list and a simple method, but it rewards attention: keep the heat low, stir without wandering off, and stop cooking at exactly the moment the mixture turns to a soft, glossy dough. What you get is the peda against which all the quick versions are measured.
Ingredients
Method
- Prepare the khoya: crumble it finely with your fingers or grate it on the coarse side of a grater, breaking up every lump. Lumps left in now will survive as white, undercooked pockets in the finished pedas, so take a minute over this.
- Heat the ghee in a heavy, wide non-stick pan or kadai on the lowest heat. Add the crumbled khoya and cook, stirring and mashing continuously with a spatula, for 8 to 10 minutes. The khoya will first soften, then turn loose and glossy and begin to look almost like a thick batter as its fat melts — this is exactly right. Keep the heat low throughout; khoya scorches in seconds and even a faint browned smell will carry into the pedas.
- Add the powdered sugar and stir it in. The mixture will loosen again as the sugar melts — keep cooking on low heat, stirring without stopping, for another 10 to 12 minutes, until it thickens back into a single soft mass that pulls cleanly away from the sides of the pan and holds its shape when you gather it with the spatula. Stir in the cardamom in the last minute. If the mixture looks dry and crumbly instead of soft, work in warm milk a teaspoon at a time.
- Tip the mixture onto a greased plate and spread it out a little. Leave it to cool for about 20 minutes — until it is just warm and comfortable to handle, not cold. It firms up as it cools, so do not leave it too long or it will crack when you shape it.
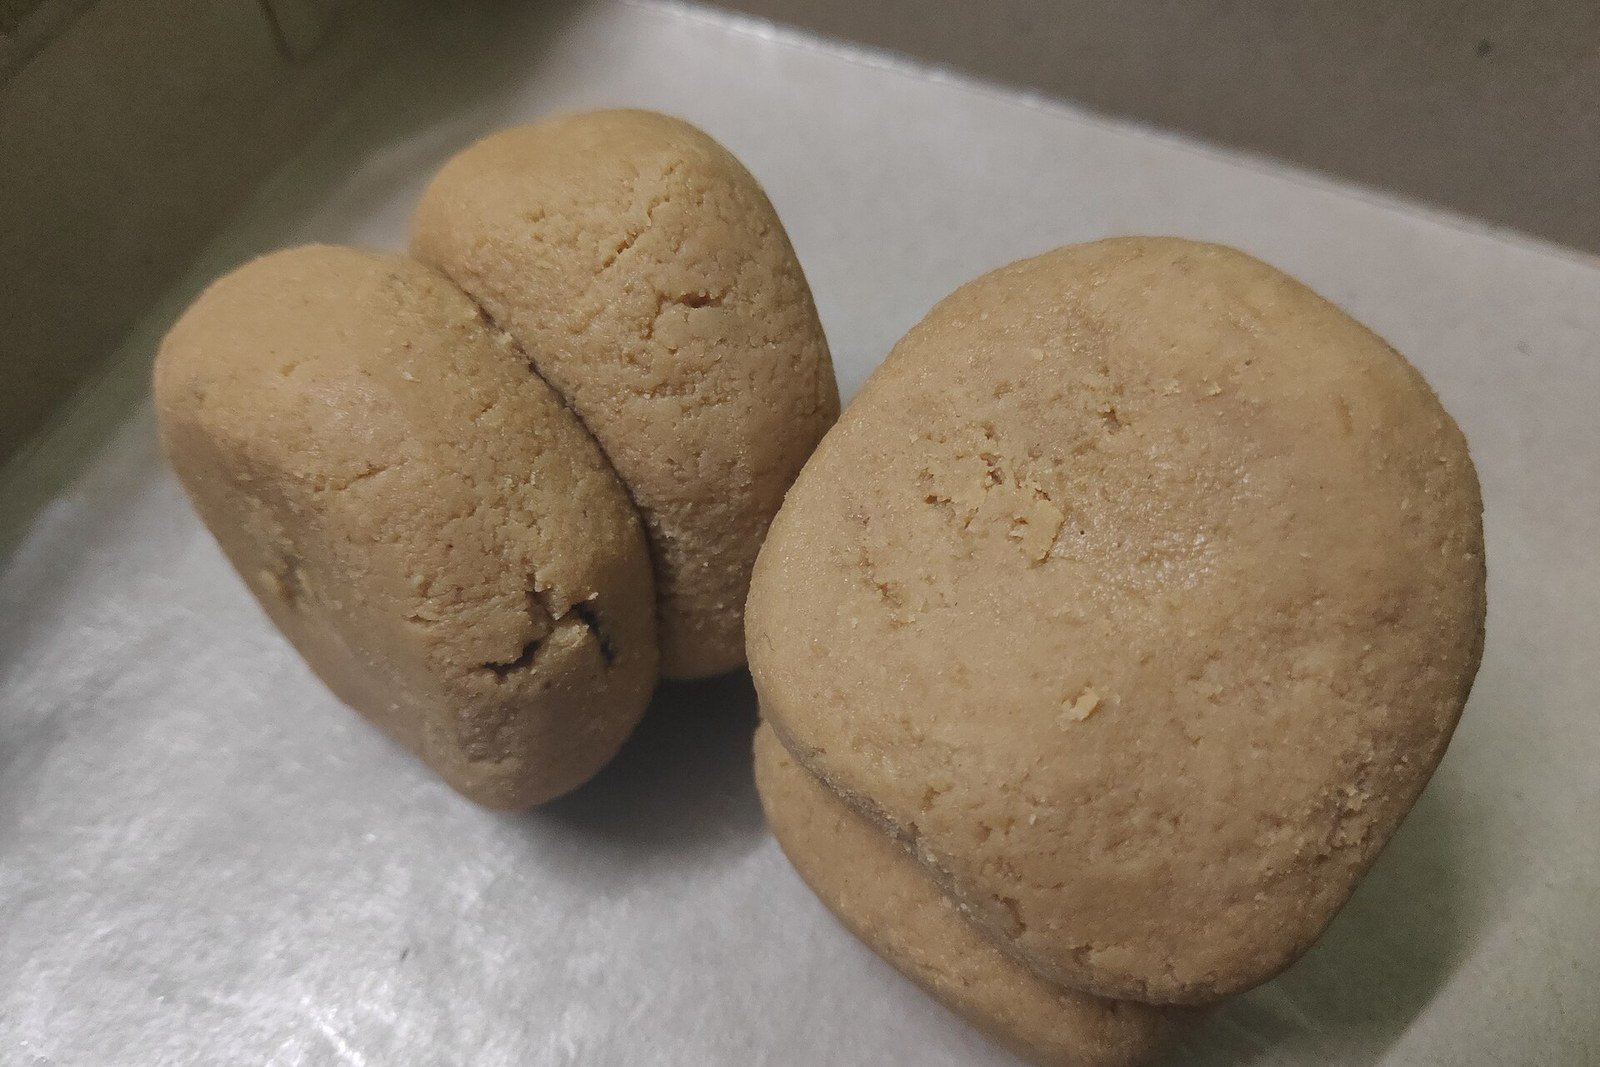
- Grease your palms lightly with ghee. Pinch off portions of the mixture and roll them into smooth balls, about the size of a small lime — you should get about 12. Flatten each ball gently between your palms into a thick disc and press a shallow dent into the centre with your thumb.
- Press a few pistachio slivers into the dent of each peda. Rest the shaped pedas at room temperature for 30 minutes to set their shape, then serve — with tea, after a meal, or packed into a box to give away, which is what pedas have always been for.